728x90
investing.com에서는 데이터값을 조회하는 API를 제공하지 확인해봤더니 공식적으로 API를 제공하지 않고 있고 그대신에 위젯을 제공하고 있습니다.
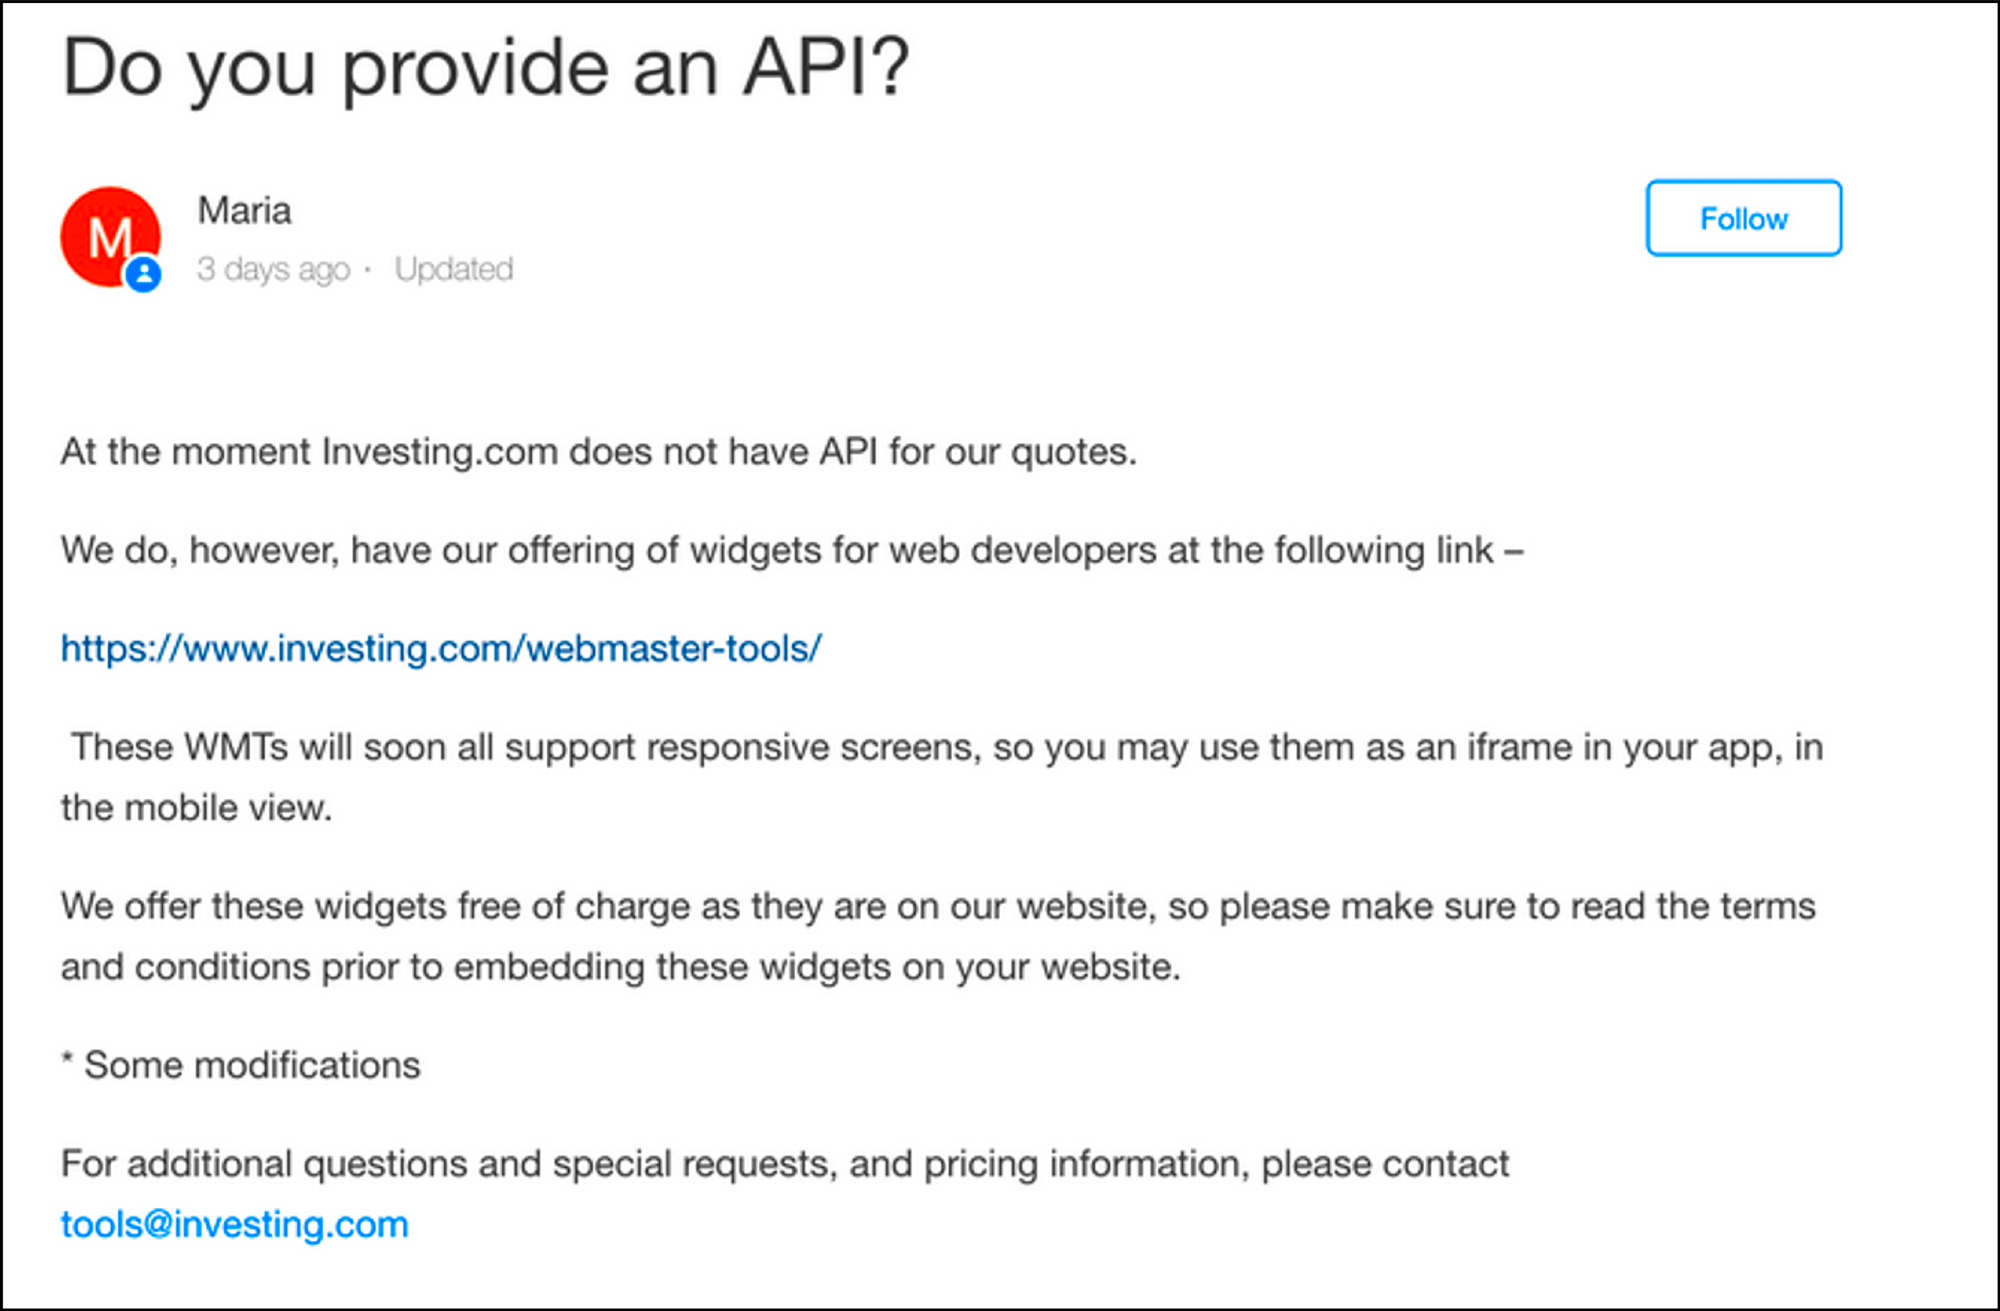
위젯을 홈페이지에 iframe 형태로 나타낼 수 있었고 이것을 Flutter에서도 표시할 수 있지 않을까 하여 공부하면서 나온 결과물을 소개합니다.
환율 위젯 URL 가져오기
제공하는 위젯은 여러가지이지만 저는 환율위젯을 예제로 진행하겠습니다.
위젯선택하기
위젯 제공하는 사이트에 접속하여 Live Currency Cross Rates 를 클릭하세요.
https://www.investing.com/webmaster-tools/
Choose Currencies 에서 환율 선택
보고 싶은 환율을 선택해주세요 저는 USD/KRW를 선택했습니다.

코드생성
코드생성을 위해 조건사항 체크박스를 클릭하고 HTML code 버튼을 클릭하세요.

URL 복사하기
iframe에 src의 값을 복사해주세요.

Flutter 웹뷰에 위젯 넣기
이제 Flutter에서 볼 수 있게 코드를 작성해 봅시다 복사한 환율 위젯을 보여주기 위해서는 flutter_webview가 필요합니다.
Flutter에서 webview_flutter 모듈 추가하기
웹뷰를 설치하기 위해 pubspec.yaml 에 webview_flutter 모듈을 추가해주세요
// <https://pub.dev/packages/webview_flutter>
webview_flutter: ^4.4.1

WebViewController 설정하기
웹뷰를 하기 위해 WebViewController를 작성합니다.
class MyApp extends StatelessWidget {
  WebViewController controller = WebViewController()
    ..setJavaScriptMode(JavaScriptMode.unrestricted)
    ..setBackgroundColor(const Color(0x00000000))
    ..setNavigationDelegate(
      NavigationDelegate(
        onProgress: (int progress) {
          // Update loading bar.
        },
        onPageStarted: (String url) {},
        onPageFinished: (String url) {},
        onWebResourceError: (WebResourceError error) {},
        onNavigationRequest: (NavigationRequest request) {
          if (request.url.startsWith('<https://www.youtube.com/>')) {
            return NavigationDecision.prevent;
          }
          return NavigationDecision.navigate;
        },
      ),
    )
    ..loadRequest(Uri.parse(
        '<https://www.widgets.investing.com/live-currency-cross-rates?theme=lightTheme&roundedCorners=true&pairs=3,159,13922,650>'));
build에 설정한 웹뷰 넣어주기
이제 build에서 설정한 웹뷰를 넣어줍니다.
@override
  Widget build(BuildContext context) {
    return MaterialApp(
      home: Scaffold(
        appBar: AppBar(
          title: Text('Investing.com Currency Rates'),
        ),
        body:WillPopScope(
          onWillPop: _onBack,
          child: RefreshIndicator(
            onRefresh: () async {
              controller.reload();
            },
            child: WebViewWidget(controller: controller),
          ),
        )
      ),
    );
  }
  Future<bool> _onBack() async {
    if (await controller.canGoBack()) {
      controller.goBack();
      // Returning false to indicate that we've handled the back navigation
      return Future.value(false);
    }
    // Allowing pop as usual
    return Future.value(true);
  }
}
전체코드
끝입니다. 정말 쉽죠 전체 코드는 다음과 같습니다.
import 'package:flutter/material.dart';
import 'package:webview_flutter/webview_flutter.dart';

void main() => runApp(MyApp());

class MyApp extends StatelessWidget {
  WebViewController controller = WebViewController()
    ..setJavaScriptMode(JavaScriptMode.unrestricted)
    ..setBackgroundColor(const Color(0x00000000))
    ..setNavigationDelegate(
      NavigationDelegate(
        onProgress: (int progress) {
          // Update loading bar.
        },
        onPageStarted: (String url) {},
        onPageFinished: (String url) {},
        onWebResourceError: (WebResourceError error) {},
        onNavigationRequest: (NavigationRequest request) {
          if (request.url.startsWith('<https://www.youtube.com/>')) {
            return NavigationDecision.prevent;
          }
          return NavigationDecision.navigate;
        },
      ),
    )
    ..loadRequest(Uri.parse(
        '<https://www.widgets.investing.com/live-currency-cross-rates?theme=lightTheme&roundedCorners=true&pairs=3,159,13922,650>'));

  @override
  Widget build(BuildContext context) {
    return MaterialApp(
      home: Scaffold(
        appBar: AppBar(
          title: Text('Investing.com Currency Rates'),
        ),
        body:WillPopScope(
          onWillPop: _onBack,
          child: RefreshIndicator(
            onRefresh: () async {
              controller.reload();
            },
            child: WebViewWidget(controller: controller),
          ),
        )
      ),
    );
  }
  Future _onBack() async {
    if (await controller.canGoBack()) {
      controller.goBack();
      // Returning false to indicate that we've handled the back navigation
      return Future.value(false);
    }
    // Allowing pop as usual
    return Future.value(true);
  }
}
이제 앱을 실행해봅시다.

728x90
'IT' 카테고리의 다른 글
| 윈도우에서 curl 결과 값 txt파일로 저장하기 (0) | 2023.10.30 |
|---|---|
| Dart에서 JSON 다루기 (0) | 2023.10.25 |
| Ubuntu에 Nginx 다른사이트로 리다이렉션하기(http, https) (0) | 2023.10.10 |
| ZEP Script를 환경 구축하고 Hello world 찍어보기 (0) | 2023.09.29 |
| 모든 갤럭시 기기에 앱 테스트 해보기(Remote Test Lab) (0) | 2023.09.17 |

